Node.js testing
Warning
This document is work in progress.
Getting started
To set up Node.JS testing, specify "node" as the environment in your config
file:
var config = module.exports;

config["My tests"] = {
    environment: "node",
    tests: [
        "**/*-test.js"
    ]
};
This config file will load all <something>-test.js in the same folder as
the config file and all sub folders. Unlike browser tests, you don’t need to
specify your source files with "sources". In fact, doing so will only make
the tests slower, as the config file takes longer time to load. Instead, you do
what you always do in Node.JS: require() the modules you use in the files
where you need to use them:
var buster = require("buster");
var myLib = require("../lib/my-lib");

buster.testCase("A test case", {
    "test it": function () {
        assert(true);
    }
});
As we can see, we also need to require Buster.JS itself. The buster module
provides all the core functionality such as test cases, assertions, and more.
Running tests
To run the tests, simply type:
buster test
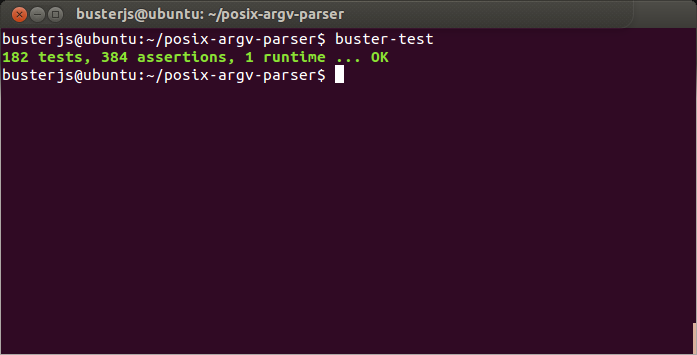
Here’s the test output for the posix-argv-parser module:
See buster test –help for more information about
the options you can pass to buster test.